Tutorials
GPT-6 Astra for 3D Product Modeling: A Blender Workflow You Can Inspect
Plan an editable Blender product model with GPT-6 Astra: reference views, measured blockouts, specific geometry revisions and a handoff to four-panel ads.
Use GPT-6 Astra for 3D product modeling when you need an editable scene, repeatable camera angles and specific geometry changes. Give it measured references, access to a working Blender environment and a staged deliverable: a simple shape first, then materials, then campaign renders. Judge the saved scene and its dimensions alongside the attractive final image.
OpenAI's architectural visualization example demonstrates Astra working through a Blender scene and an Unreal Engine walkthrough. That establishes a useful workflow example; it does not establish the accuracy of a particular commercial product model. The workflow below is an original product exercise, not a benchmark or a recorded Astra run.
Choose the deliverable before choosing the prompt
A product rendering and a product model solve different problems. A rendering communicates a view. A model lets you change that view, inspect parts and reuse geometry. Start with the work you need to do next.
| Your next task | Ask for | Inspect before accepting |
|---|---|---|
| Explore an advertising mood | A finished concept image | Product identity and visual idea |
| Render the same object from several angles | A named, editable Blender scene | Geometry from front, side and top |
| Explain a removable component | Separate objects with meaningful names | Actual separation, attachment and scale |
| Send a product to manufacturing | Appropriate engineering files and specifications | A separate engineering review; a convincing render is insufficient |
For a one-off four-panel ad, you may not need a 3D stage at all. Use it when repeated viewpoints or geometric revisions justify maintaining a scene. Otherwise, a clear product reference and a direct image brief can be the shorter route.
Give Astra a reference packet it can reason about
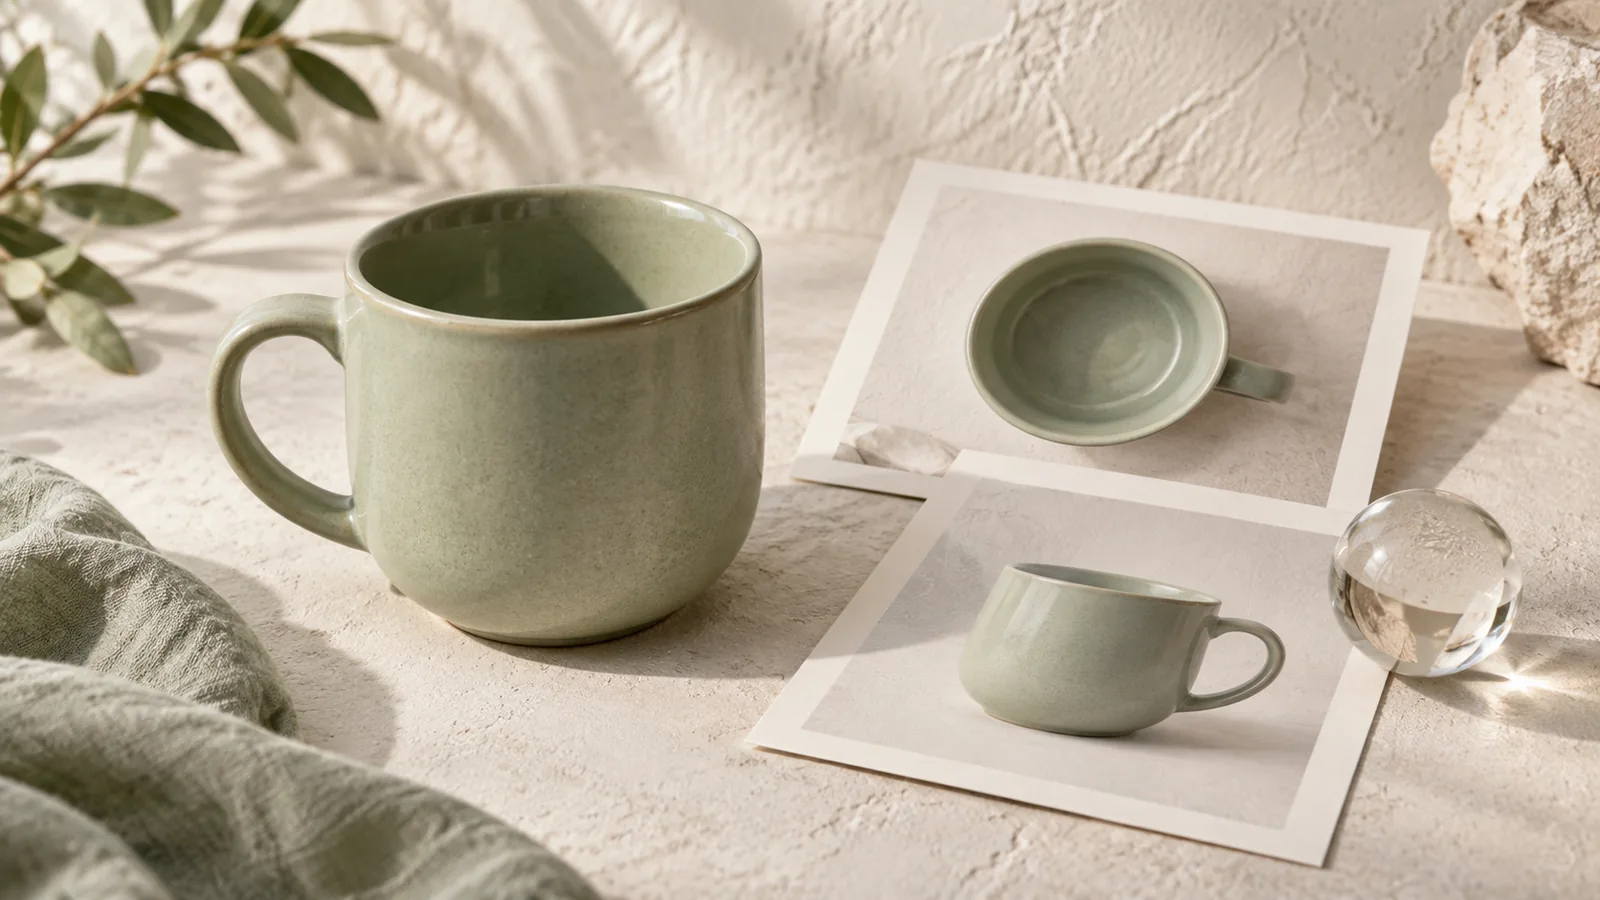
Collect front, side and top views, one photograph showing scale, and a short list of measurements. Mark which dimensions are measured and which remain unknown. Describe the surface separately from its illumination: a matte ceramic finish can show a broad highlight without becoming glossy metal.
Consider a fictional ceramic desk cup: height 90 mm, body diameter 80 mm, open top, flat base, and a handle extending 30 mm beyond the body. These are proposed exercise dimensions, not specifications for a real product. The handle's interior shape still needs a reference or an explicit design choice; the outer extension alone does not define it.
If two reference images disagree, resolve the disagreement before adding detail. A wide-angle photograph can exaggerate the opening. An attractive front view may hide an incorrect base. Ask the model to list uncertainty briefly rather than silently choosing a shape.
Start with a blockout you can reject cheaply
The first useful result is a plain shape with no elaborate lighting. In your Astra environment, confirm that Blender is available and that the connection can execute scene changes and return renders. Access depends on your actual app and tools; typing a model name does not establish a working Blender connection.
Use this prompt after supplying the references:
Create a Blender blockout for the fictional ceramic cup in my reference packet.
Use the supplied dimensions: height 90 mm, body diameter 80 mm, handle extension 30 mm.
State the scene-unit convention and show how those dimensions map to it.
Keep the body and handle separately named and editable.
Use neutral gray material and plain lighting. Render front, side and top views.
Do not add lettering, props, decorative bevels or campaign styling yet.
Save the scene, report its path, and list any geometry you inferred rather than measured.
Inspect the actual object dimensions in Blender. Open the saved file in a fresh session and check that the objects exist, rather than accepting only a screenshot. Rotate to the rear, inspect the handle opening and look inside the cup. For this exercise, an attractive solid cylinder with a dark circle on top would fail: the task called for an opening.
Refine geometry, materials and lighting in that order
Change the structural mismatch first. “Make it more realistic” can invite the model to alter the light while leaving the wrong shape intact. A useful revision identifies the object, the mismatch and the retained decisions:
Keep the cup's height, body diameter and flat base unchanged.
The handle opening is too narrow compared with the side reference.
Adjust the handle geometry to match that opening; retain its outer extension.
Render the same side camera before and after the change.
Save a new scene version and identify the modified object.
Once the shape is acceptable, assign materials and render a simple turntable set or several still viewpoints. Keep a neutral reference render alongside the styled ones. If a material change makes the product look like a different finish, compare against that neutral view before changing the geometry again.
For advertising, define a small camera list with distinct jobs: a recognizable three-quarter view, a handle close-up, a use-context view and a closing product portrait. Reuse the same scene for each. This gives your art direction continuity without requiring every frame to repeat the same composition.
Bring the useful views into an ad
Export the selected still images and add them as references in Panelly Studio. Describe which view communicates the product and which detail must survive in the finished four-panel ad. Panelly's task here is the ad image; the editable Blender scene stays in your modeling workflow.
A suitable handoff might be: “Use these views of the same ceramic cup. Open with a desk moment, show the handle clearly, return to the everyday setting, and close with the product name and ‘Explore the cup.’ Keep the proportions and finish consistent.” The copy can remain integrated into the finished image.
FAQ
Does Astra return a Blender model directly in every chat?
No. The useful workflow requires tools that can create and save a scene. A text answer describing Blender steps is a different deliverable. Check which files and tool actions your environment actually produced.
Can one photograph define the whole product?
It can guide a concept, but hidden geometry remains uncertain. Supply additional views or explicitly accept an illustrative interpretation of the unseen surfaces.
Should I start with an elaborate scene?
Start with the product shape. A beautiful room can hide a poor model and makes it harder to identify whether the problem is geometry, camera perspective or lighting.
How do I compare two attempts fairly?
Use the same reference packet, dimensions, cameras and acceptance checks. Record the actual time and any manual corrections. Do not infer repeatable performance from one attractive render.