Tutorials
How to Show Product Size in Photos: Scale Cues That Make Sense
Make a product’s size easier to understand with useful comparisons, honest perspective and clear dimensions. Includes an original four-frame shot plan.
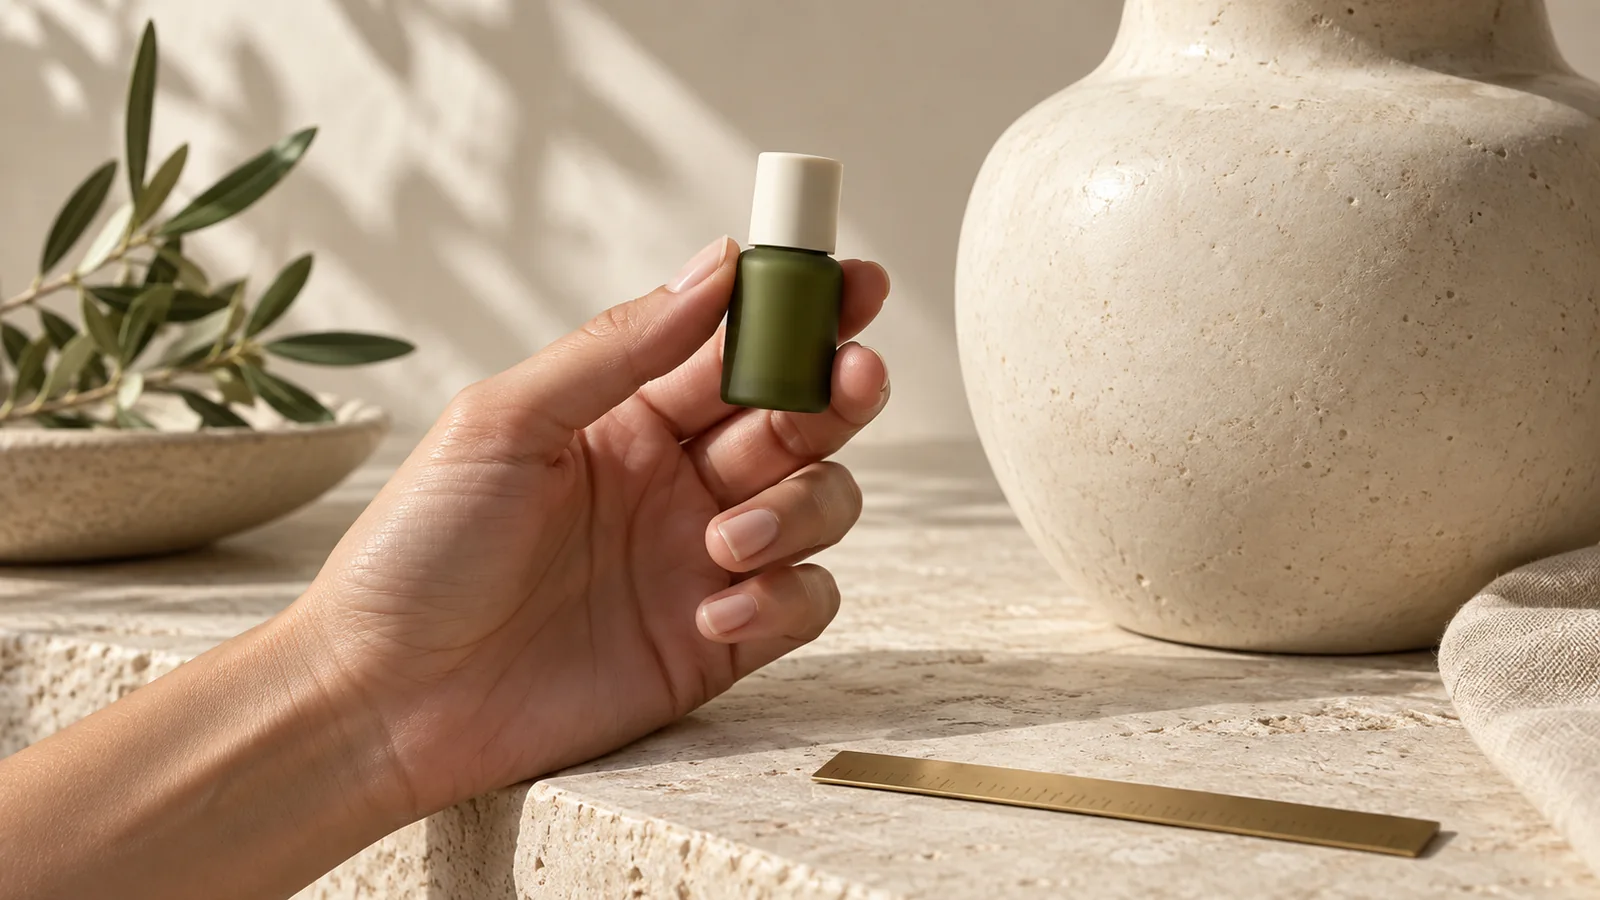
Show product size with a reference the audience understands, keep the product and reference at a believable relative scale, and provide the actual dimensions nearby. A hand or familiar use setting helps people imagine the object; a clearly photographed ruler communicates measurement. Use both kinds of information when size is central to the purchase.
A close-up can make a tiny object look impressive without showing how large it really is. Give that attractive detail shot a companion image that answers the practical question: how much space will this take in my hand, bag or room?
Choose a reference that answers the customer's question
Etsy's product-photo guide identifies scale shots as a distinct photo type. Its examples place products in contexts that make size understandable. The useful question for your shoot is which comparison helps someone use or place this particular item.
| Customer question | Useful reference | What to watch |
|---|---|---|
| Will this fit in my hand? | A real hand holding the actual item | Hand sizes vary, so retain dimensions too |
| How tall is it? | A ruler aligned beside the object | Keep the scale readable and aligned with the base |
| Will it fit on my shelf? | A measured shelf or clearly described space | Avoid a wide-angle view that distorts proportions |
| What will it look like worn? | The item worn naturally | State the product size and any relevant model context |
| How large is the detail? | A close-up paired with an overall view | Do not let magnification imply the whole product is larger |
Coins can be convenient, but an audience in another country may not recognize their size. A mug, notebook or phone can vary substantially too. Use a reference deliberately rather than treating any everyday object as an exact measuring instrument.
Photograph a measured view before the styled one
Start with the actual product and verify its dimensions. Decide whether the stated height includes the lid, whether the width includes handles, and whether the measurement refers to the object or its packaging. Those are different numbers.
For a fictional candle jar, suppose the product is 8 cm tall including its lid and 6 cm across its widest point. A clear measured view can show the jar upright, its base aligned with the ruler's zero mark, and the ruler close to the same plane as the jar. Keep the camera positioned to avoid an obviously tilted measurement.
Do not add a number simply because an AI-generated scale marker looks plausible. The measurement must come from the real product. If a ruler is part of a generated scene, verify every relevant marking against the intended dimension; a real measured photograph is the stronger source for that information.
Control perspective before changing the crop
Objects closer to the camera appear larger relative to objects farther away. If you place a candle well in front of a reference mug, the comparison can exaggerate the candle's size. Moving the mug back into the same general plane is more useful than trying to fix the impression with a caption.
For a simple comparison photograph, use a straightforward view and keep the reference close to the product. Leave enough of both objects visible that the comparison is understandable. Avoid cropping away the hand, shelf edge or ruler mark that supplies the context.
The aim is not to make every photograph diagrammatic. You can still use a dramatic detail shot elsewhere. Give each image a clear role and let the scale image do its practical job.
Build a four-frame size story
Here is an original shot plan for the fictional 8-by-6 cm candle. It is a planning example, not a claim about an existing product or generated output.
| Frame | Visual | Information it supplies |
|---|---|---|
| 1 | The actual jar held naturally in one hand | A quick impression of overall size |
| 2 | The jar beside a properly aligned ruler | The stated 8 cm height, including the lid |
| 3 | The jar on a small shelf with enough surrounding space visible | How it occupies an everyday surface |
| 4 | A clean product view with the product name and dimensions | A concise reminder before the shopping action |
If you are using an illustrative four-panel ad rather than a documentary photograph, keep the verified measurements in the brief and use real reference images. Treat the scene as a creative interpretation that must be compared with the actual product.
Revise an image that makes the product look too large
A useful revision describes the misleading relationship. “Make it more realistic” leaves the problem open. Try: “The jar looks almost as tall as the full hand. Match the relative size in my reference photo, keep the jar design unchanged, and show more of the hand around it.”
In Panelly Studio, attach the measured or in-hand reference and describe that relationship in conversation. You can ask for a complete new four-panel version while preserving the intended dimensions and product appearance. Compare the finished image because regeneration is not a guarantee of physically exact scale.
If the only problem is that the product occupies too much of a lifestyle frame, say which surrounding context should become visible. If the product itself is the wrong shape, fix that first; a wider crop does not repair incorrect proportions.
Keep the size information easy to find
Baymard's published product-page research observed shoppers trying to infer size from imagery and struggling when suitable context was absent. This supports making a useful scale view available; it is not a current conversion forecast for your store.
Place the scale image where a shopper exploring the product can find it, and keep its numerical information consistent with the description. Check the thumbnail and enlarged view. If the ruler is only readable at full resolution, the caption should still state the actual dimensions clearly.
Retain a clean product view and any relevant detail shots. The scale image supplements them by answering a different question. For planning those roles, see the guide to white-background and lifestyle product photos.
FAQ
Is a hand enough to show exact size?
It gives context, not an exact measurement. Pair it with verified dimensions when precise fit matters. A different hand can change the impression.
Can I use a generated ruler?
Do not trust generated markings as measurements. Use the real product dimensions and a reliable reference, then verify any visible labels in the final image.
Should every frame show a scale reference?
No. One clear scale view may do the job while the other frames explain appearance, detail or use. Avoid filling every scene with measuring props if they do not add information.