Tutorials
Claude Opus 5.5 Packaging Review: Check the Flat Proof Before the Mockup
Use Opus 5.5 to compare a packaging proof with the supplier's actual dieline and a written list of required content.
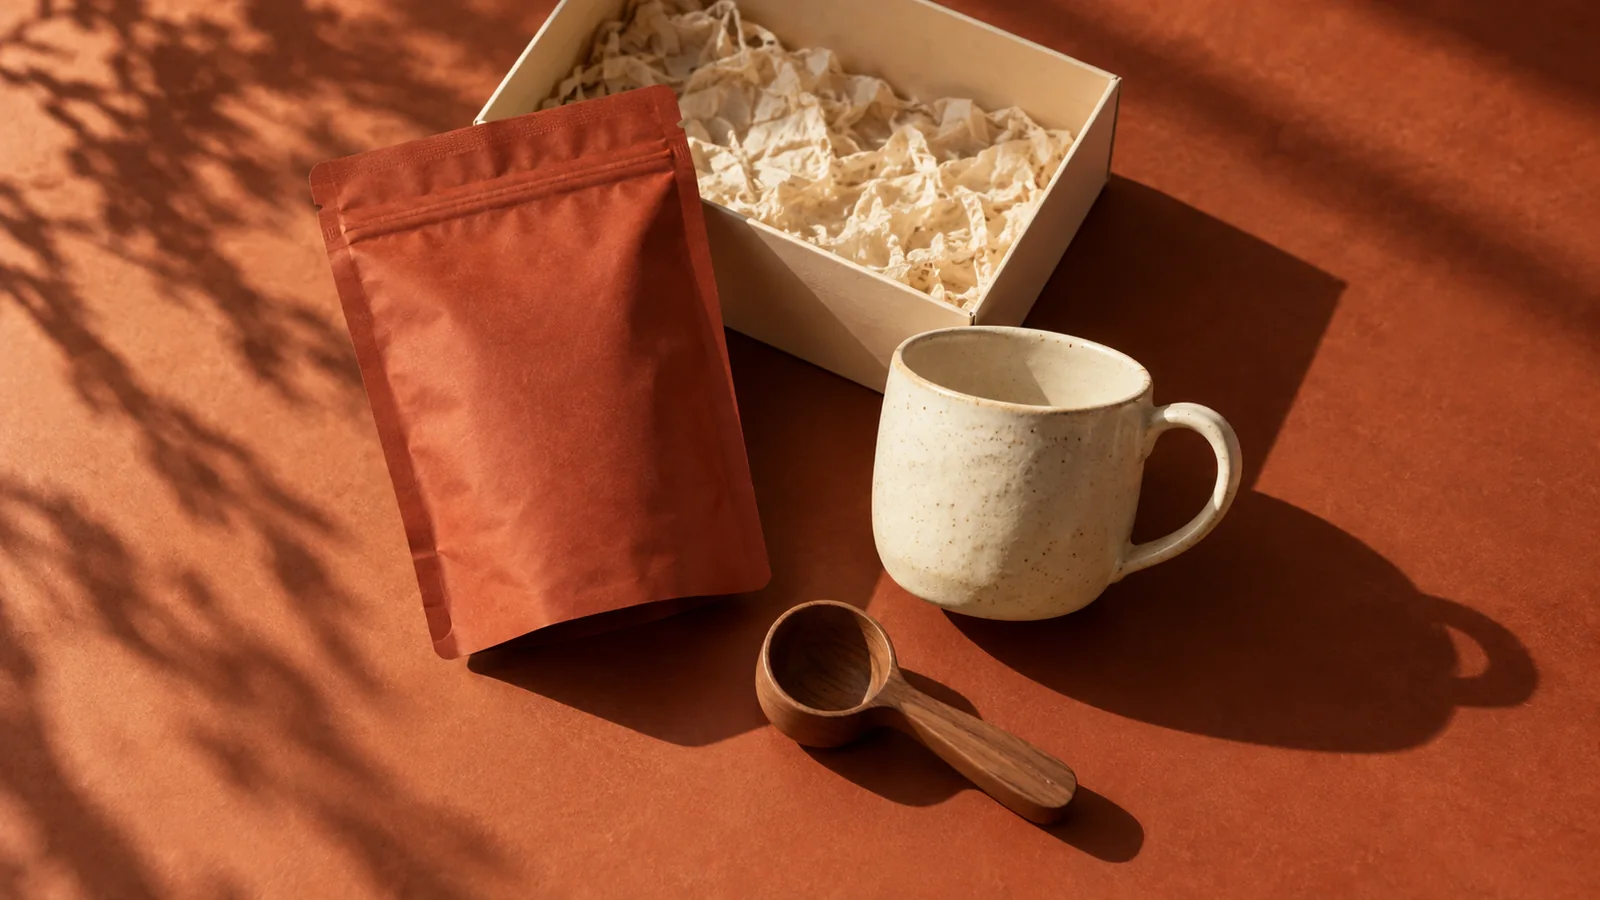
Use Opus 5.5 to compare a packaging proof with the supplier's actual dieline and a written list of required content. Ask it to identify uncertain areas instead of guessing dimensions from a perspective mockup. A polished box render is useful for discussing appearance; approval for print requires the production file and the supplier's proof process.
Packlane distinguishes its 3D design tool from a custom dieline workflow. The review method here works from a supplied template rather than asking a language model to invent box engineering. It is a proposed workflow, not a measured Opus print test.
Give every file one job
Use four inputs: the supplier's unchanged template, your flat artwork, a panel-content list, and a folded reference. Record the template revision and box size. A screenshot may help discuss a defect, but it cannot prove that a PDF retained its physical dimensions, fonts or production layers.
For a fictional tea box, the content list could require the product name on the front, ingredients on one side, preparation instructions on the back and a batch-code area on the bottom. Mark any missing approved wording as missing; do not ask Opus to complete it from a picture of another brand.
| Review question | Best evidence | If evidence is missing |
|---|---|---|
| Is the back panel upside down after folding? | Supplier panel map and folded reference | Request orientation confirmation |
| Does the background reach the required bleed? | Flat file against the actual bleed boundary | Inspect the production file |
| Is text near a cut or fold? | Supplier safe-area markings | Ask for the job's safe-area rule |
| Was a required line omitted? | Approved text compared with artwork | Restore the exact wording |
Use a dimension example carefully
Suppose a supplier explicitly specifies a 60 × 90 mm rectangular front panel and 3 mm bleed at every exposed trim edge. An isolated flat front artwork rectangle would cover 66 × 96 mm. That arithmetic is an example for those stated edges, not permission to add 3 mm across every fold, glue flap or neighboring panel of a whole carton.
Adobe explains bleed as artwork extending beyond the trim area. Follow the supplier's actual markings: different box materials and jobs can require different values. Extending the background is not the same as moving the product name into the unsafe area.
Ask for an annotated issue list
Review this fictional tea-box proof with Opus 5.5. Inputs: supplier template revision A, flat artwork revision 03, approved panel-content list and folded reference. Do not change the dieline, physical dimensions or supplier specifications.
Compare front, back, sides and bottom separately. For every issue return: panel, visible evidence, required rule, proposed correction and confidence. Distinguish a visible mismatch from something that requires inspecting the source file or asking the supplier.
Check content omissions, panel orientation, artwork reaching the supplied bleed boundary and important text inside the supplied safe area. Do not invent missing ingredients or certifications. Do not estimate exact millimeters from the perspective render.
Return a short revision brief and a list of unresolved production questions. Do not label the file print-ready. After revision 04, recheck every original issue plus any neighboring panel affected by the edit.
Close an issue with evidence
A useful record says “back-panel heading rotated to match template A; verified on flat revision 04 and folded paper dummy.” “Looks better” does not show what changed. A home-printed dummy can reveal orientation, but is not a color proof or proof that the supplier can manufacture the structure.
If the model cannot read tiny text, provide a higher-resolution crop with the panel label. If it flags an apparent overlap, inspect the flat source before moving anything; perspective can hide a fold. For final delivery, use the supplier's required format and review process rather than exporting a mockup screenshot.
After the package is approved, use its reference in Panelly Studio to create the product advertisement. The packaging concept guide covers earlier visual exploration; this article covers checking the flat proof. Panelly is not presented here as a print-preflight tool or an Opus integration.
FAQ
Can Opus certify the barcode will scan?
No. A visual review is not a scan test of the final printed package. Keep the original barcode asset and validate through the actual production process.
Should I recreate the dieline when I only have a mockup?
Get the supplier's correct template first. A guessed outline can look plausible while placing folds or glue areas incorrectly.