Tutorials
Claude Opus 5.5: Check a QR Code Before Printing Product Ads
Use Claude Opus 5.5 to inspect the layout around a QR code and prepare a print checklist; use a real decoder and a physical proof to decide whether it works.
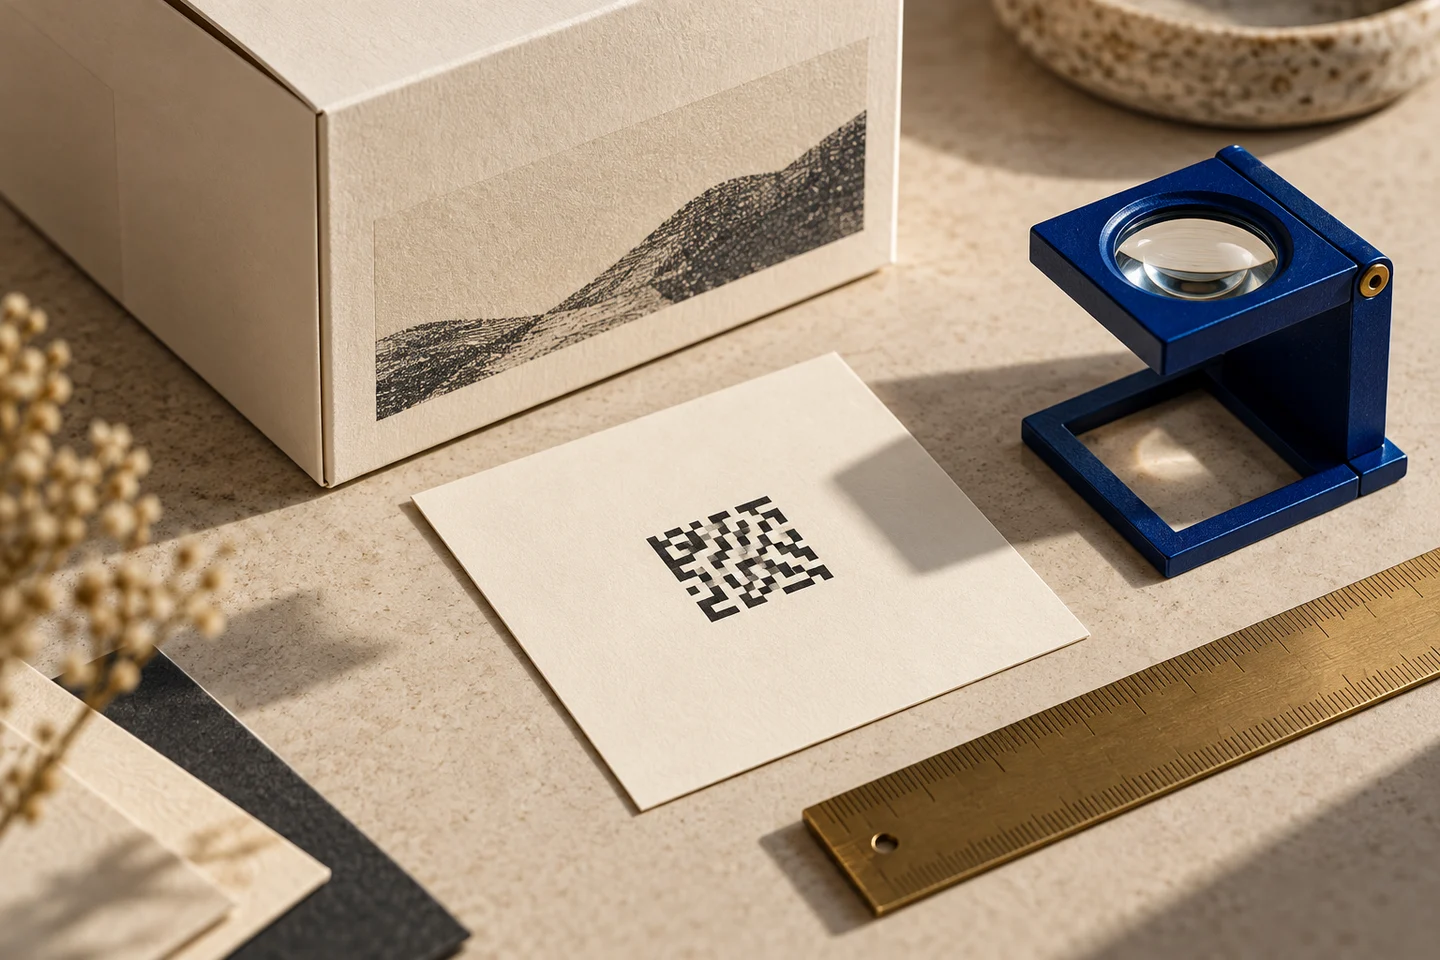
Use Claude Opus 5.5 to inspect the layout around a QR code and prepare a print checklist; use a real decoder and a physical proof to decide whether it works. A convincing square pattern in an AI-generated advertisement is not a verified link. Keep the encoded asset intact while improving the surrounding composition.
This is a proposed production workflow, not an Opus scanning benchmark. Supply the original code file, intended destination, final dimensions and print material. A screenshot alone cannot establish module size or prove that the exported code decodes to the correct address.
Separate three different failures
First scan the original supplied asset. Then scan the final exported artwork. Finally test a proof printed at delivery size. This sequence tells you where the defect entered instead of making every failed scan a reason to regenerate the whole ad.
| Observation | Likely next check | Useful change |
|---|---|---|
| Original does not decode | Encoded data and source file | Replace the code from a trusted encoder |
| Original works, export fails | Scaling, crop and surrounding marks | Restore clear border and sharp modules |
| Export works, print fails | Actual size, surface and lighting | Adjust the print treatment and test again |
| Code decodes, page is wrong | Exact URL and redirects | Correct the destination before approval |
A QR community discussion illustrates disagreement between scanners when a code is buried in artwork. Treat those reports as examples of failure modes, not a measured failure rate or permission to remove margins.
Calculate the space before placing it
DENSO WAVE's printing guidance specifies a clear border four modules wide on each side of a standard QR symbol. A module is one little square, not one pixel or a fixed number of millimetres. Do not let a nearby caption, frame or product shadow enter that area.
For a hypothetical symbol 29 modules across, choosing 0.5 mm per module gives a 14.5 mm symbol. Adding four modules on both sides makes the complete footprint `(29 + 8) × 0.5 = 18.5 mm`; each clear border is 2 mm. This calculation describes the chosen geometry, not a universal minimum size or a guarantee of scanning at any distance.
Record whether the supplier's quoted width includes the border. If an 18.5 mm export is cropped down to the 14.5 mm dark-pattern area, the space budget has been lost. Avoid stretching one axis or applying blur, perspective decoration and shadows to the code itself. Preserve a vector source where available; inspect the final raster export after all scaling.
Give Opus a bounded review task
The official Opus prompting guide is a reference for defining a concrete deliverable. Here, ask for measurements and unresolved checks rather than a visual declaration that the code works.
Review the supplied product-ad layout and original QR asset.
Keep the encoded module pattern and intended URL unchanged.
The hypothetical symbol has 29 modules per side; planned module width is 0.5 mm.
Calculate the total footprint with four clear modules on every side.
Identify nearby text, borders, shadows, folds or crop marks that enter that footprint.
Return a table: location, observed problem, proposed layout change, required verification.
Do not redraw the QR pattern or claim a successful scan from appearance.
If a decoder is available, report its exact decoded string and the file tested; otherwise mark decoding unverified.
List tests for the exported artwork and a physical proof at final size, including destination checks.
Do not change the destination or publish anything.
Approve the actual deliverable
Test more than one available phone under realistic lighting and distance. Check glossy reflections, curved packaging, folds and trim edges. A successful scan on a bright monitor does not validate a small matte print. Write down the device, material, dimensions, observed result and exact destination; retain the proof alongside the approved export.
For a redirected URL, verify the final page and who controls that redirect. An address that works today can later lead to an expired campaign. Add a short readable destination where useful so someone who cannot scan still has a route. Do not treat scan analytics as proof that customers completed a purchase.
Build the surrounding ad in Panelly
Create the product scene, headline and CTA together in Panelly Studio, reserving the measured area for the verified code. Insert the genuine code asset during final assembly and repeat the export check. This is a specific case where preserving an exact machine-readable asset matters; it does not mean all ad text must be separate layers.
Use the packaging proof workflow for folds and trim, and the asset filename workflow to identify the approved export. No Panelly–Opus integration or automatic QR validation is assumed.
Can I put a logo in the middle?
Only approve the resulting encoded asset after appropriate decoding and real print tests. Error correction is not a general licence to cover arbitrary modules. A plain verified code with good surrounding design is a useful fallback when a decorated version is unreliable.