Tutorials
Ghost Mannequin Photos: Fix the Collar Before the Background
Fix missing inner collars, floating neck labels and changed shirt shapes in ghost mannequin photos. Capture the right references before changing the background.
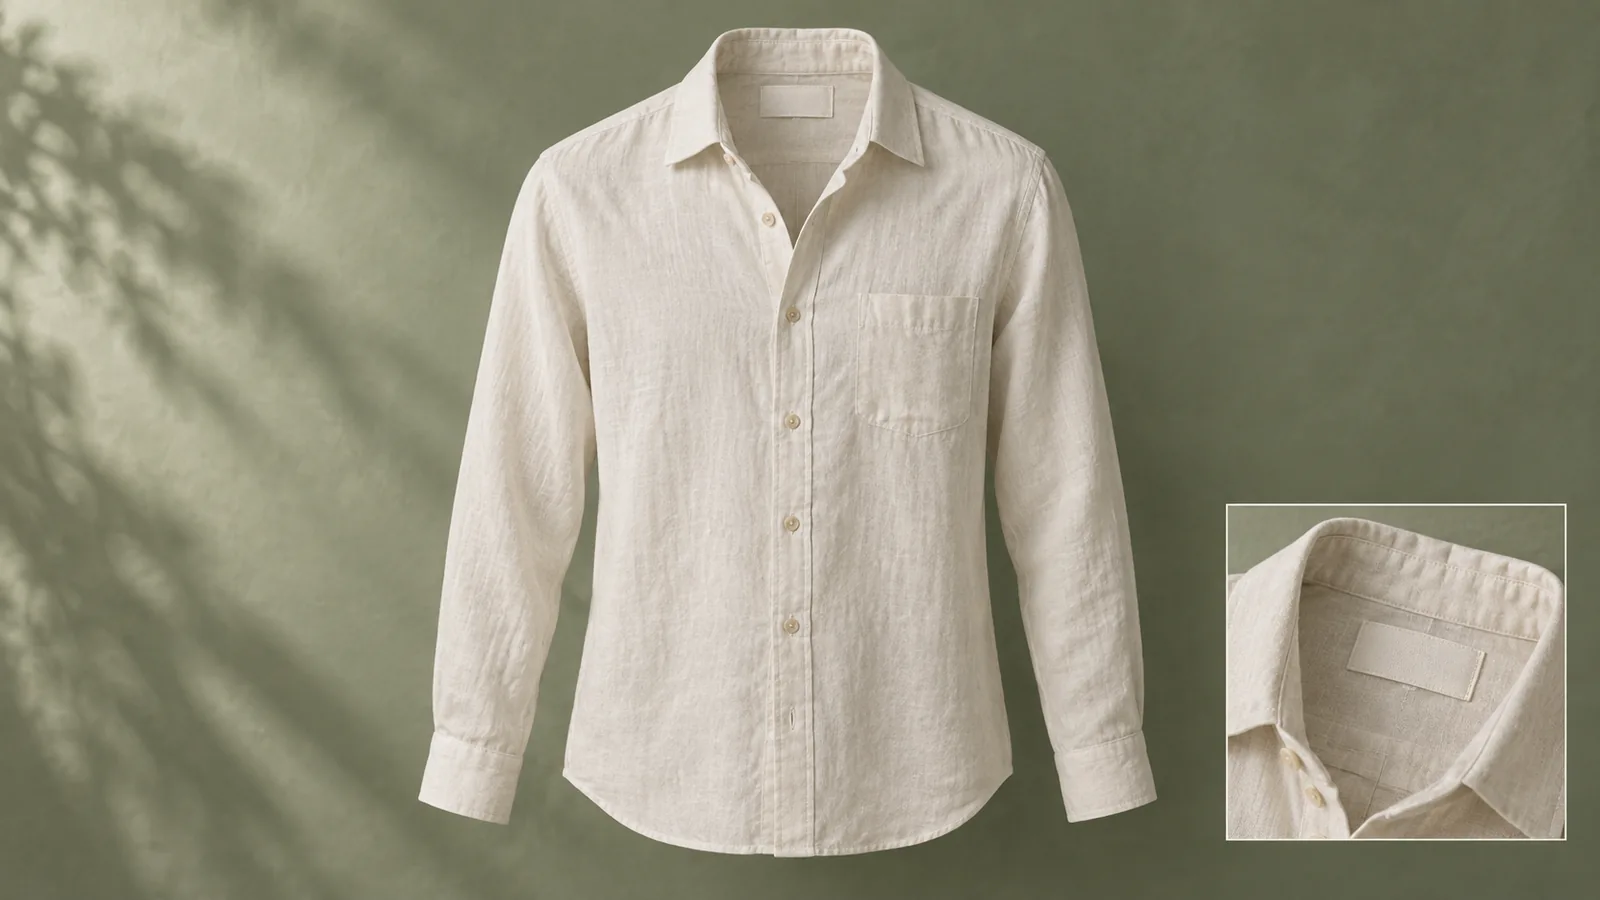
A convincing ghost mannequin image needs both the outside of a garment and the interior that the mannequin hides. Removing the visible mannequin leaves a hole; it does not reveal a photographed back collar. Capture that interior separately, then check that its shape, light and position agree with the main garment.
This matters most around necklines, armholes and open jackets. A perfect white background cannot rescue an inner label floating in empty space or a collar that looks pasted across the opening.
Gather the missing view
| Image | What it establishes | Common omission |
|---|---|---|
| Main front view on the form | Shoulder width, sleeve fall, front opening | Cropped cuffs or hem |
| Inside back collar | Inner fabric, seam and actual label | Interior photographed from an incompatible angle |
| Back view | Rear seams and silhouette | Assuming the front image proves the back design |
| Relevant detail | Button, cuff or fabric construction | A close-up from a different garment variant |
Use the same garment and record its size and variant. Keep the lighting direction understandable across the set. The Pixelz ghost mannequin tutorial describes combining an on-form image with separately photographed interior areas. That is the missing information to plan for before dismantling the setup.
Match the opening, not just the label
Consider a fictional cream linen shirt with a small plain rectangular label. The front photograph has a curved neckline. If you insert a rectangular crop of the inside collar, the patch may cover the foreground collar instead of sitting behind it.
Start with the visible opening. Place the interior behind the front garment and inspect its boundary from shoulder to shoulder. The front collar should occlude the correct portion of the back fabric. Then position the label using the actual inner-collar photograph; do not enlarge it merely to make it easier to read.
Three useful checks are the center of the label relative to the shirt placket, the direction of the inside seam, and the light falling into the cavity. If those disagree, change the placement or source view before adding more shadow. A darker patch may conceal a bad seam but still look like a hole when reduced to card size.
Write a focused repair request
If you already have an advertising image, supply the garment reference and interior view with different jobs. Reference-image roles explains how to avoid asking two pictures to control everything at once.
@image1 is the approved front image of the cream linen shirt. @image2 shows the inside back collar of that same shirt. Keep the outer silhouette, sleeve length, button count and fabric color from @image1. Repair only the neckline opening using the inner seam and blank label from @image2. The back fabric must sit behind the front collar with soft natural interior shade. Do not narrow the waist, lengthen the shirt, add buttons or invent label text.Use this as a bounded request in Panelly Studio. It is an editorial example, not a demonstrated reconstruction. Compare the result with both originals. A plausible generated interior is still wrong if it changes the construction of the item being sold.
Check the garment at two sizes
At full resolution, inspect collar seams, edge halos and doubled stitching. Then view the image at the size used by the store or ad: the neckline should read as a continuous garment, without a black hole or an oddly bright insert. Inspect the cuffs and hem as well; a local repair can change other areas.
For an advertisement, build the setting around this checked garment. A four-panel sequence could show the whole shirt, the fabric, the shirt prepared for an outing and the final product view with headline and CTA. That is a planning example, not a promise that the pictured fabric has a particular performance property.
Does an invisible mannequin image prove how a shirt fits a person?
It shows a styled shape on a support. Use accurate dimensions and real on-body photographs when the shopper needs evidence of fit, stretch or drape on a particular body.
What if I only have a front photograph?
If the interior is important, take the missing photograph. For a concept image, you can request a plausible interior, but do not treat invented seams or labels as a faithful product record.
Should I remove every wrinkle?
Remove distractions deliberately. Erasing all folds can alter the impression of material and construction. Decide which creases come from temporary handling and which belong to the garment's natural fall.