Product photography lighting setup planner
Choose a product finish, light source and camera view. Get a three-frame test you can run on your table and download as a shoot sheet.
Plan my lighting setup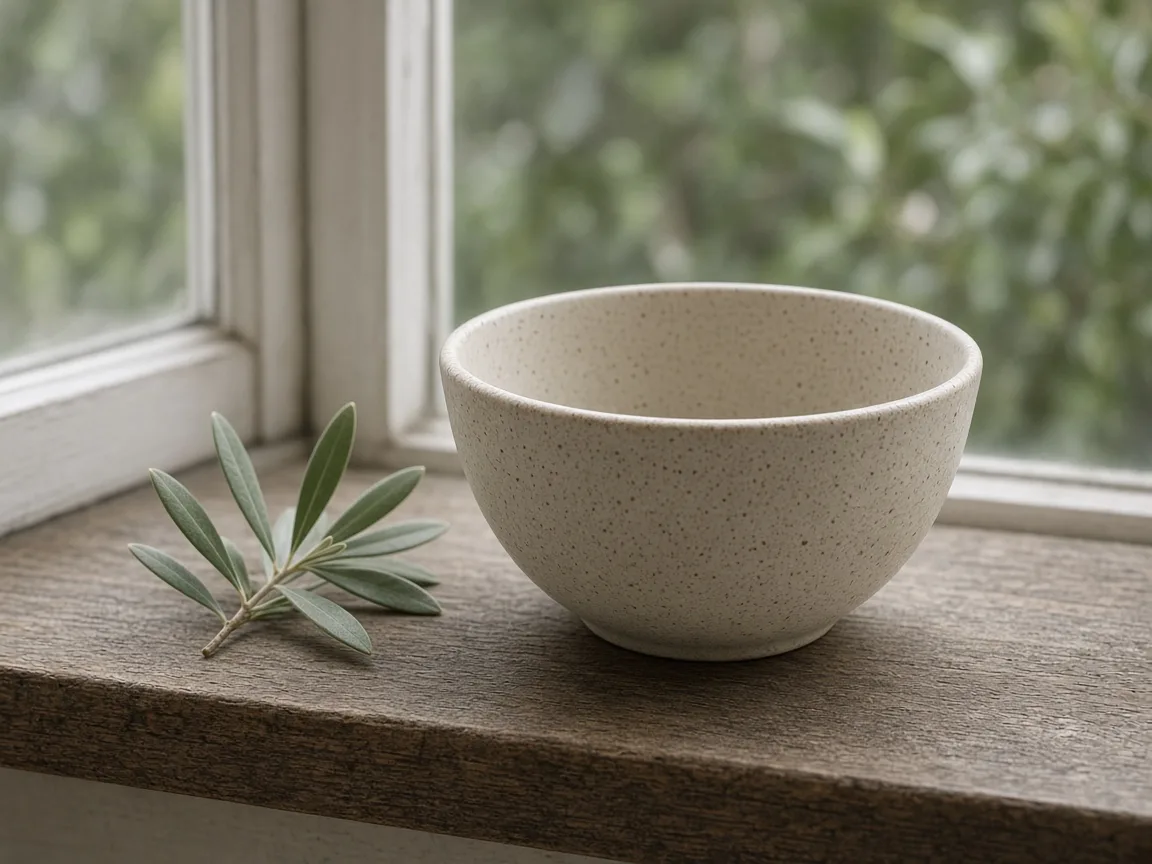
Three test frames for Gloss-glazed bowl
| Product | Frame | On-set action | Check |
|---|---|---|---|
| Gloss-glazed bowl | 1 · Baseline | Use a window with indirect light. Turn off nearby lamps and mark the table position. Turn the product until a broad highlight tracks its outline and clears the label. | Keep the camera level with the label. Check the smallest print and both side edges at full size. |
| Gloss-glazed bowl | 2 · Card test | Slide a black card beside the product, outside the frame. Compare the dark edge and the lettering. | Keep camera position, exposure and white balance fixed. Compare with frame 1. |
| Gloss-glazed bowl | 3 · Repeat | Repeat the better frame. Record the light and card positions, camera settings and filename. | Keep the camera level with the label. Check the smallest print and both side edges at full size. |
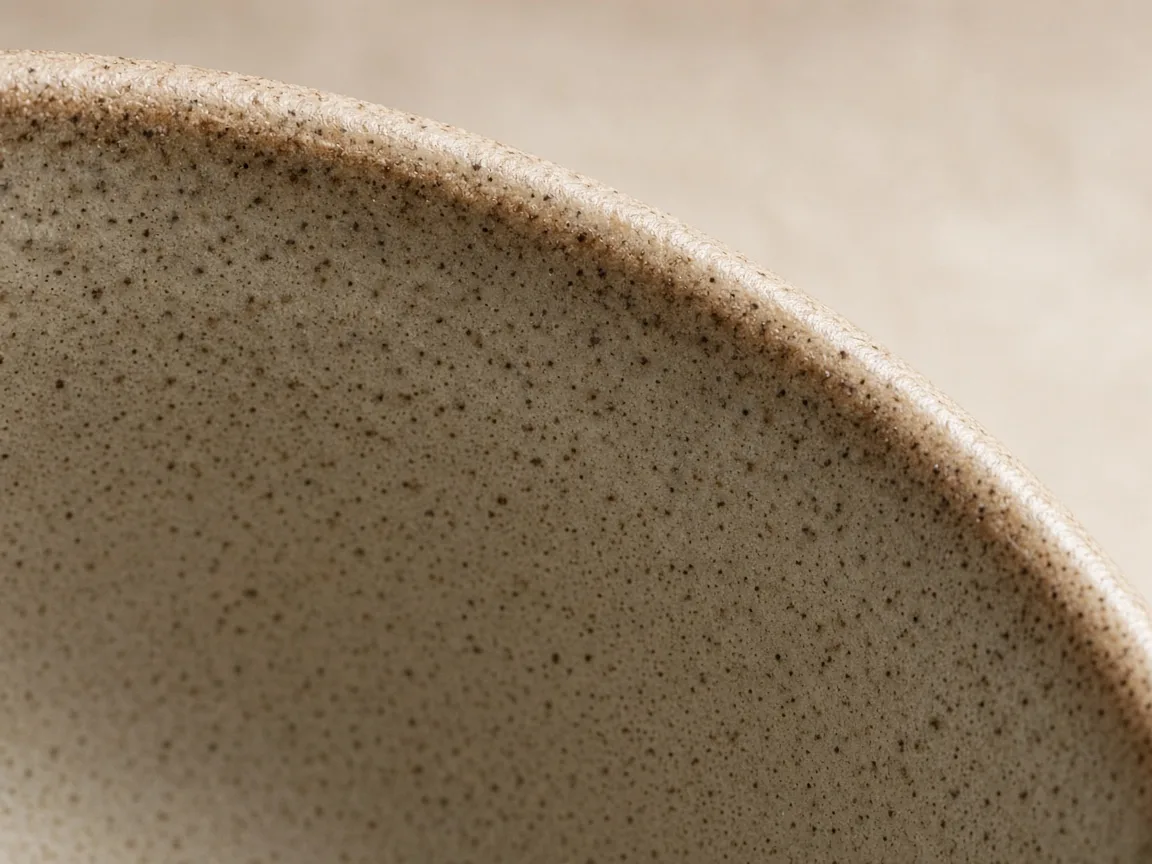
Where should the highlight fall on a glazed bowl?
Start with a front view by a window. Watch the pale reflection in the glaze as you turn the bowl. Stop where the rim still reads as a curve and the reflection clears the maker’s mark. Take a frame before adding a card.
Keep the camera and bowl still. Bring a black card in from the side, just outside the frame, and take the second frame. Compare the rim and the mark at the intended display size, then repeat the chosen arrangement once.
Choose a card by what you see in the frame
Keep one comparison frame before moving a card. The useful distance depends on the size and shape of the actual product.
| Surface | Look at | Change to test |
|---|---|---|
| Textured carton | Shadow on the folded edge | Move white card toward the dark side |
| Glazed bowl | Bright reflection crossing the mark | Adjust the reflected edge with a black card |
| Clear tumbler | Rim disappearing into the background | Bring black cards toward the outside edges |
Save a lighting setup you can repeat
Choose one view
Decide whether the photograph needs to show a label, a flat arrangement or a material detail. Frame the product and mark its position before moving a card.
Make one change
Take the baseline frame, move the card as shown in your sheet and shoot again. Keep both files so you can inspect the difference at the same size.
Record the repeat
Download the CSV. Beside the chosen frame, record the filename, distance to the light, card position and exposure. For window light, also record the time and sky conditions.
Frequently asked questions
Can I use a window instead of a softbox?
Choose Window for a setup using indirect daylight. If the daylight changes between frames, take a fresh baseline before judging the card adjustment.
How do I keep the writing visible on a shiny label?
Watch the reflected light as you rotate the product in small steps. When the reflection clears the writing, mark that position and compare the next frame with the label at full size.
What should I record for a flat lay?
Record camera height, the side of the table facing the light and where the fill card sits. Check whether the camera rig casts a shadow into the overhead frame.
What comes in the download?
The CSV contains your product name, three frame names, on-set actions and inspection notes. Fill in your actual exposure settings and filenames after the shoot.