Creative practice
A Product Photography Shot List That Finds Missing Views
Find missing product views before another shoot. Use a pouch example to separate construction references, listing files and campaign images.
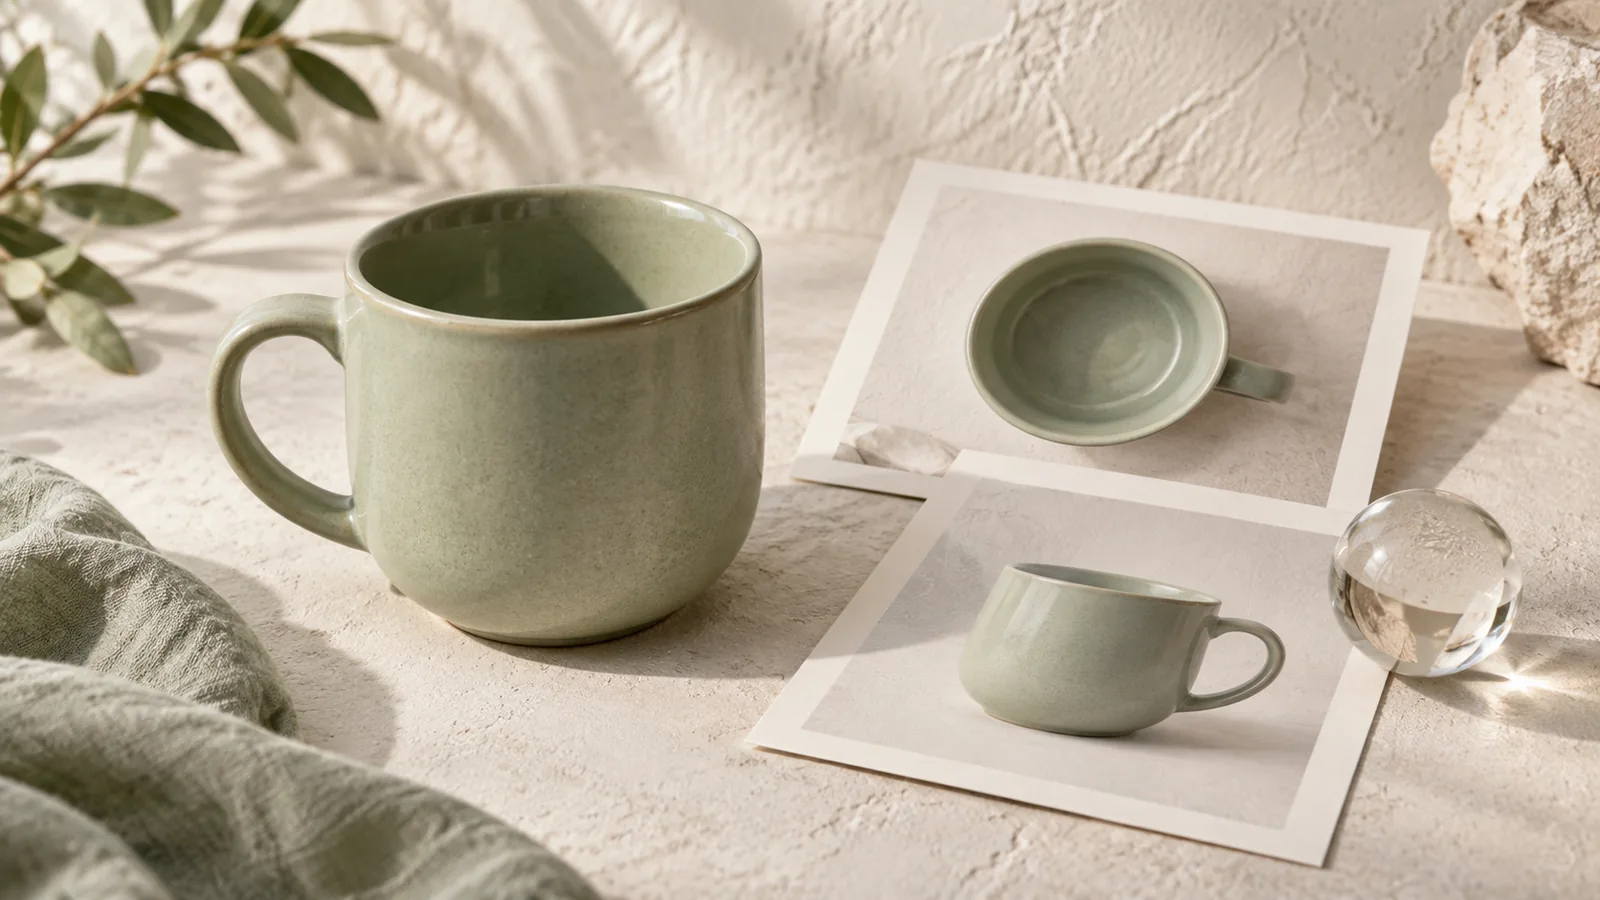
Build a product photography shot list around what a customer cannot yet see. A front image identifies the item; another view should answer a different question about the back, opening, contents or use. Before arranging an elaborate scene, list those unanswered questions and match each one to an actual product view.
The useful unit is one required delivered image. “Front, back and detail” is three deliverables when the shop needs three files. A four-panel advertisement, by contrast, is one composed image containing four visual beats. Keep those output requirements separate.
Example: plan a pouch launch without photographing everything
The following is a fictional brief for a small zippered travel pouch. It is a planning example, not a prescribed image count for every shop.
| Customer question | Required view | What must be visible | Source needed |
|---|---|---|---|
| Which pouch am I buying? | Closed front view | Correct color, silhouette and zipper | Actual sellable variant |
| Does the back have a pocket? | Back view | Entire back, without styling hiding it | Real back reference |
| What fits inside? | Open top view | Lining and verified contents | Actual interior and fit check |
| How is it finished? | Zipper and seam detail | Pull shape, stitching and material | Sharp detail photograph |
| What arrives in the order? | Included items together | Pouch and any included accessory | Confirmed package contents |
| How could I use it? | Campaign scene | The same pouch in an appropriate setting | Approved product references |
A different product needs a different list. A sealed jar may need a readable back label; a chair may need its underside or fastening detail. Do not add these views just to reach a standard number.
Shopify's product-photography guidance recommends trying different angles and checking that important details are visible. The job of this worksheet is to turn that general advice into a missing-view check for one actual item.
Audit the files you already have
Open the current folder and assign each usable image to one row. Mark each row as present, missing or unclear. Three attractive front views cannot fill a missing interior row, and a close-up of fabric cannot prove the location of a pocket.
For the pouch example, suppose front, back and zipper detail already exist. The missing work is the interior, included-items view and campaign scene. Reshooting the front from five slightly different angles would leave the same three gaps.
Check variants before scheduling production. A black pouch photograph may establish construction, but it cannot prove the exact blue offered on another listing. Label the reference with its actual variant rather than silently treating all colors as interchangeable. For color delivery, see product color consistency.
Capture unseen construction before asking AI to show it
If the available reference shows only the front, a generated back view is not evidence of the real back. Photograph that side when its features matter. The same applies to lining, ports, closures and package contents. This is a reference gap, not a problem that a more elaborate style prompt can resolve reliably.
You do not need a finished commercial photograph for every reference. A clear, well-lit phone photo can document the construction. Keep the complete item visible, then add a closer detail where necessary. Do not let a decorative hand or prop cover the feature the reference is meant to establish.
A simple naming row can be enough to keep the handoff clear:
Pouch / blue / open-top view
Purpose: show the real lining and zipper opening.
Reference: actual blue sample, photographed open.
Acceptance: opening unobstructed; no invented pockets or extra contents.
Delivery: one separate listing image, not a collage.
Turn the documented product into an ad
Once the product is documented, the campaign brief can focus on a message. Here is a fictional request for a four-panel pouch ad, separate from the listing-image deliverables:
@image1 shows the closed blue pouch, @image2 shows its real interior, and @image3 shows the zipper detail. Create one four-panel ad for commuters organizing small everyday items. Keep the actual pouch construction and color. Show the closed pouch, the zipper detail, the open pouch with only the verified items that fit, and a calm closing product view. Include the headline “A place for the small things” and CTA “Explore the pouch” in the finished image. Do not add pockets, accessories or capacity claims.Use only the verified items in your own brief; the example does not assert a particular capacity. In Panelly Studio, attach those references and describe their roles in chat. The four-panel result supports the campaign; it does not replace separate evidence photographs required by a product page.
Remove duplicate jobs from the final set
Put the selected images in the order a customer will encounter them. For each, finish the sentence “This image lets someone check…” If two images answer exactly the same question, keep the clearer one unless the channel genuinely requires both.
Do I need every angle for a simple product?
No. Add a view when it reveals meaningful information. The aim is coverage, not a rotation sequence for its own sake.
Can the same image serve the listing and the ad?
Sometimes. Check the destination's current requirements and the intended message. A decorative campaign image with headline text may serve an ad well while being unsuitable for the listing's first image.
Make the next production request for the first missing customer question, rather than another attractive version of the view you already have.