Tutorials
Focus Stacking Product Photos: Fix the Blurry Back Edge
Fix a blurry rear edge or focus-stack halo in product photos. Check source coverage, overlapping details and the finished ad with a timer example.
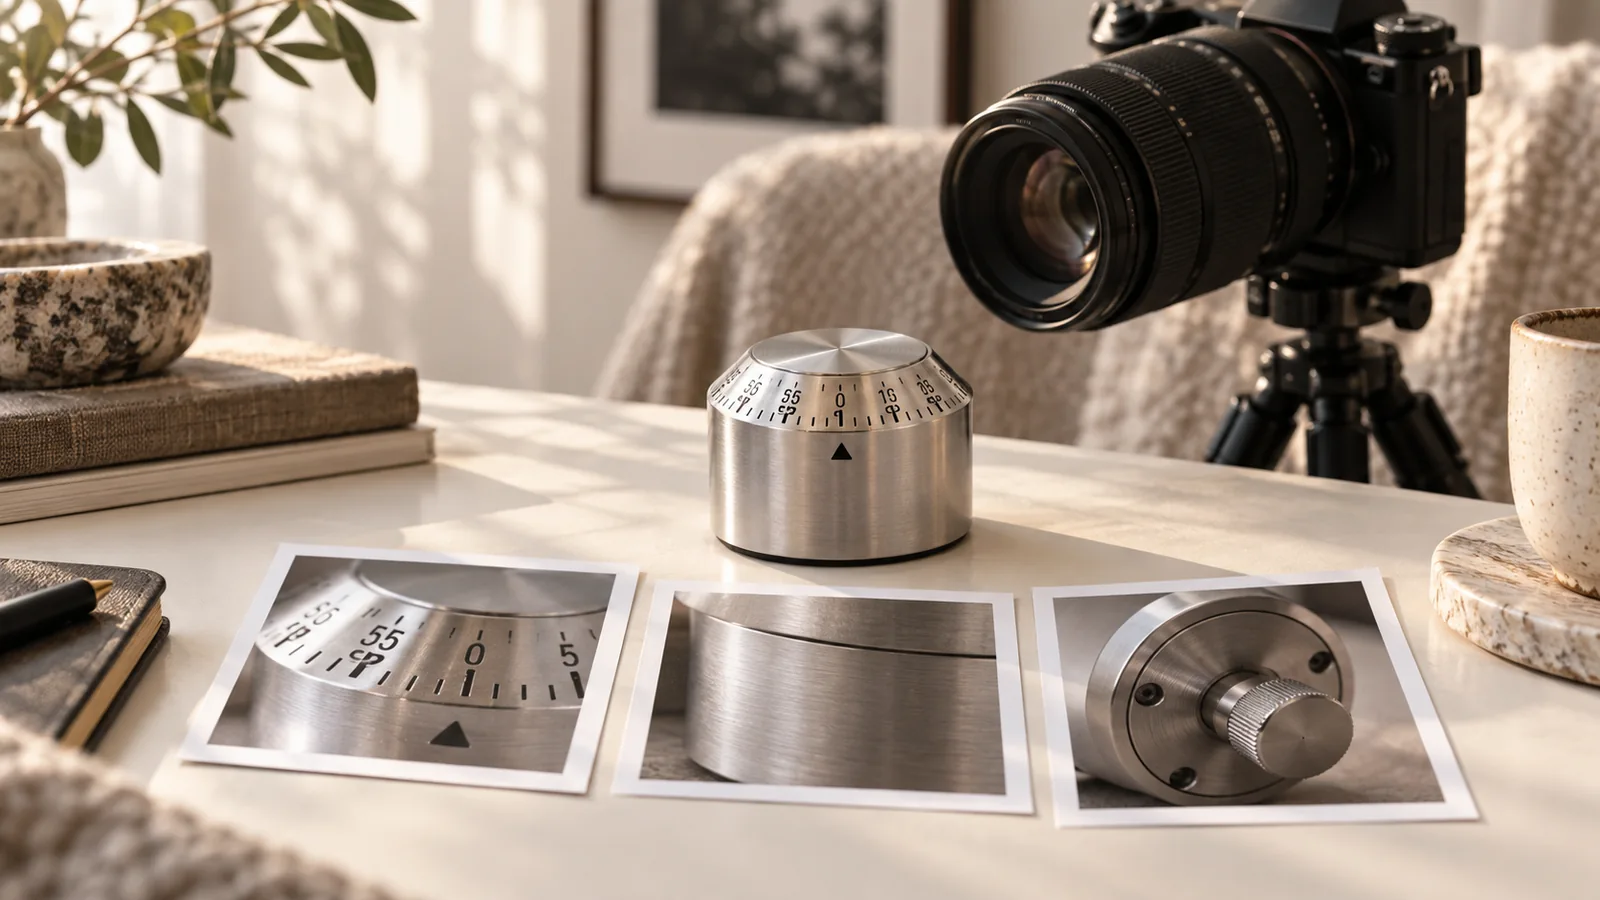
If the front of a product is sharp but its back edge is soft, first decide whether that back edge needs to be readable. For a catalog reference, it often does. Focus stacking combines photographs focused at different depths; it needs source frames that actually contain the missing detail. Sharpening a single soft image is a different operation.
For an advertisement, selective focus can be useful. A soft background helps a button, clasp or label stand out. The mistake is allowing the one feature the ad promises to show to fall outside the sharp area.
Choose the repair before taking more pictures
| What you see | Check | Next step |
|---|---|---|
| Sharp front, soft rear | Is the rear feature needed? | Reframe or capture a focus series |
| Everything looks soft | Camera movement, missed focus, source size | Retake a stable source image first |
| A sharp outline has a doubled edge | Movement between source frames | Compare individual frames before blending again |
| A narrow band stays blurred in the composite | Whether any source covers that depth | Add a focused frame at that position |
| The original is clear, the web image is not | Export and delivery dimensions | Follow the compression checks |
Changing one variable at a time makes this diagnosis easier. Do not simultaneously replace the background, increase sharpening and rebuild the stack: you will lose track of which step introduced the edge.
Capture coverage rather than a fixed frame count
Secure the camera and product. Keep framing and lighting stable. Begin at the nearest detail you need, move focus toward the farthest, and leave overlapping sharp regions between neighboring frames. Inspect those regions rather than assuming that three or ten photographs are enough for every object.
Here is a hypothetical desk-timer example. You need the front pointer, the middle seam and the rear knob. Write those three details down, then mark which source frame shows each one clearly. If the seam is soft in every frame, the composite has no sharp seam to select. Retake the missing depth before editing.
| Required detail | Source to inspect | Accept when |
|---|---|---|
| Pointer | Near-focus frame | Its tip has one clean boundary |
| Body seam | Middle-focus frame | The line is continuous across the visible body |
| Rear knob | Far-focus frame | The actual grooves can be distinguished |
These are example checkpoints, not a claim that this timer has been photographed or tested.
Blend, then inspect where objects overlap
Adobe documents Auto-Align Layers followed by Auto-Blend Layers with Stack Images. Use that workflow on the source series, retaining the source layers so an imperfect mask can be inspected.
Look closely where a nearer part crosses a farther one: a handle against the body, a chain over a pendant, or a knob beside the rear edge. Toggle the relevant source frames. A halo in the combined image may be a blend problem even when the underlying product photographs are usable. A missing sharp region requires new capture; repainting the edge cannot establish its real structure.
Turn a sound reference into an ad
Prepare the product reference before changing the advertising scene. In Panelly Studio, reference the clear product and describe which details must remain recognizable. Panelly is not being presented here as a focus-stacking editor.
Use @image1 as the product reference for this desk-timer ad. Preserve the pointer, body seam, rear knob, proportions and existing markings. Create a quiet work-desk scene with soft side light. Keep the pointer and seam visually clear; allow the distant desk background to soften. Do not add grooves or markings. Include the headline “Make room for focus” and CTA “See the timer” in the finished image.This is an example creative request. Compare the generated timer against the reference rather than assuming that a sharp-looking detail is accurate. If the rear knob changes shape, name that part in the next message and keep the rest of the composition.
Can one blurry photograph become a true focus stack?
No. A stack selects information across differently focused captures. A generated reconstruction can look convincing but is not evidence of the missing physical detail.
Should every part of an ad be equally sharp?
No. Decide what the viewer must inspect. Keep that product feature clear and let less relevant surroundings recede. Save a faithful reference image separately from the finished campaign image.