Tutorials
Product Texture Close-Ups: Show the Material Without Inventing Detail
Plan a close-up around one real seam, finish or surface feature, with enough context to identify the product and avoid invented detail.
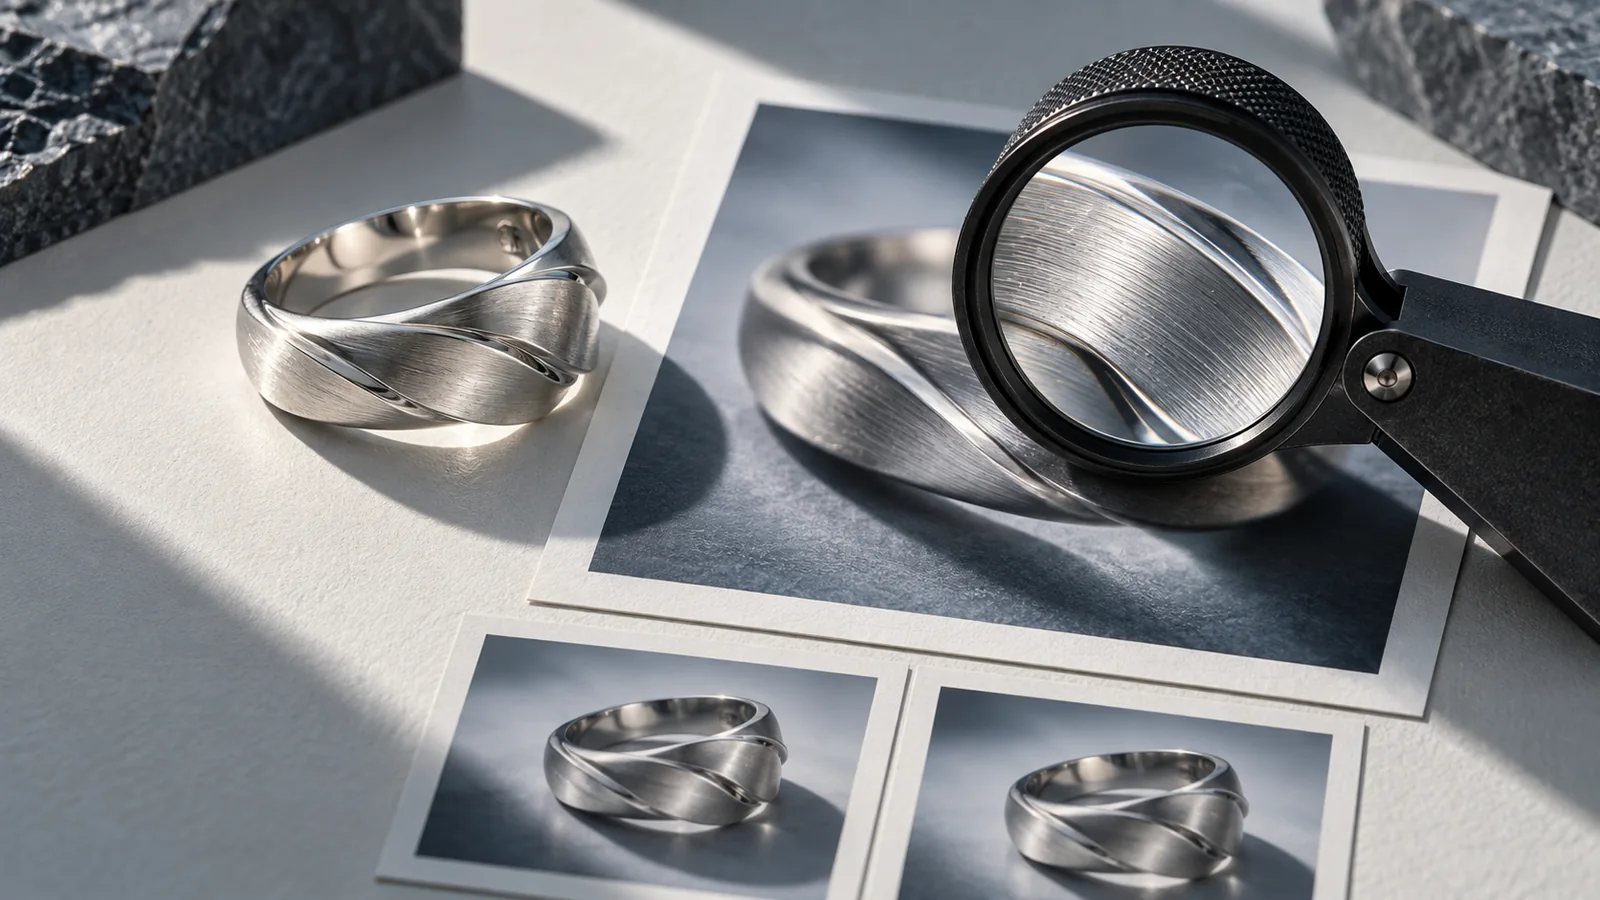
Choose one real material feature for a close-up: a fabric weave, brushed finish, seam or glazed edge. Include enough surrounding shape to show where the detail belongs. Asking for “extreme detail” alone can produce an attractive surface that no longer describes your product. Use an actual detail photograph when the texture is evidence of what customers will receive.
Adobe's texture-photography guide discusses composition and side lighting for revealing surfaces. The examples below apply that idea to ad direction; they are not measurements of a generated material.
Decide what the close-up must prove
| Material feature | Useful view | Misleading change to avoid |
|---|---|---|
| Woven fabric | Weave plus an identifiable seam | Making the weave much coarser |
| Brushed metal | Direction of brushing and an edge | Turning a matte finish into a mirror |
| Glazed ceramic | Rim transition and restrained highlight | Adding a crackle finish that is not present |
| Paper packaging | Fold and surface near the label | Inventing embossed letters or foil |
The purpose is not to make every product look rough. A smooth bottle should remain smooth. Detail can be the clean transition between cap and body rather than a new texture.
Build a close-up around a real anchor
Take a fictional navy canvas pouch. You want to show its stitching, but the first generated crop is so tight that the viewer cannot tell whether it is a bag, a sofa or a jacket. Keep a corner of the pouch and the zipper edge in view. The seam becomes the subject while the surrounding shape identifies it.
Use @image1 as the product reference. Show a close-up of the navy pouch's existing seam, with one corner and the zipper edge still visible. Preserve the real weave size, stitch spacing and matte fabric. Use gentle side light. Do not add leather trim, coarse fibers or new stitching. Place this detail in the second panel of the ad.This fictional brief has not been run as a paid generation test. Replace it with a detail your source photograph actually shows. If the seam is blurred in the reference, a generated sharp version cannot establish its true construction.
Separate lighting from sharpening
A stronger edge can make a surface look crisper without revealing any new product information. Before requesting more sharpness, ask whether the feature is visible at all. If the light hides the weave, a restrained lighting change may help. If the reference lacks the detail, take a better photograph.
Avoid combining “ultra-sharp,” “dramatic,” “wet” and “luxury” as a single texture instruction. Those words can push the finish in contradictory directions. Say what the material is, what feature should be visible and what should remain unchanged.
At feed size, the close-up should read as a useful difference. At full size, check repeated stitches, invented seams and unexpected surface damage. Use the actual product as the comparison, not only the previous generated image.
Place detail between context and decision
In a four-panel ad, the opening can show the pouch on a desk; the second panel can show its seam; the third can show the intended use; the last can bring back the full product and CTA. A detail shot earns its place when it supports the message, rather than merely filling one square.
For a more general direction, see product lighting. For preserving the same item across different views, see product consistency.
In Panelly Studio, identify the detail reference in chat and name the panel to revise. Keep your headline and CTA in the complete ad image. Inspect all panels afterward: a request to change one crop is not a guarantee that every other pixel stays fixed.
FAQ
Can AI recover an exact texture from a blurry photo?
It can propose plausible detail, but plausibility is not a record of the real surface. Use a new source photograph when exact construction matters.
Should every panel be a macro shot?
Usually that leaves too little context. Use a wider view to identify the item, then a close-up to explain one feature.
Does a more textured image look more premium?
Not automatically. The right finish is the one the product has. Calm framing and controlled highlights may communicate its quality better than exaggerated grain.
Start with one visible material feature and ask for a crop that explains it without losing the product.