Tutorials
Claude Opus 5.5 in Blender: Fix Product Geometry and Label Seams
Fix a Blender product scene with Opus 5.5 using dimensions, neutral views and a bounded prompt. Diagnose floating caps, label seams and file handoff problems.
Use Opus 5.5 to request small, inspectable changes to a Blender product scene: correct the silhouette, place the label, then check several views before adding dramatic lighting. A convincing front render can hide a distorted back, a floating lid or a label that wraps through itself.
The model documentation lists image and text input with text output. A Blender scene therefore needs an execution workflow, such as a script you run or an available tool connection. The community MCP for Blender project provides scene manipulation through a third-party integration; it is not built into Panelly.
Define a repairable product, not a beautiful scene
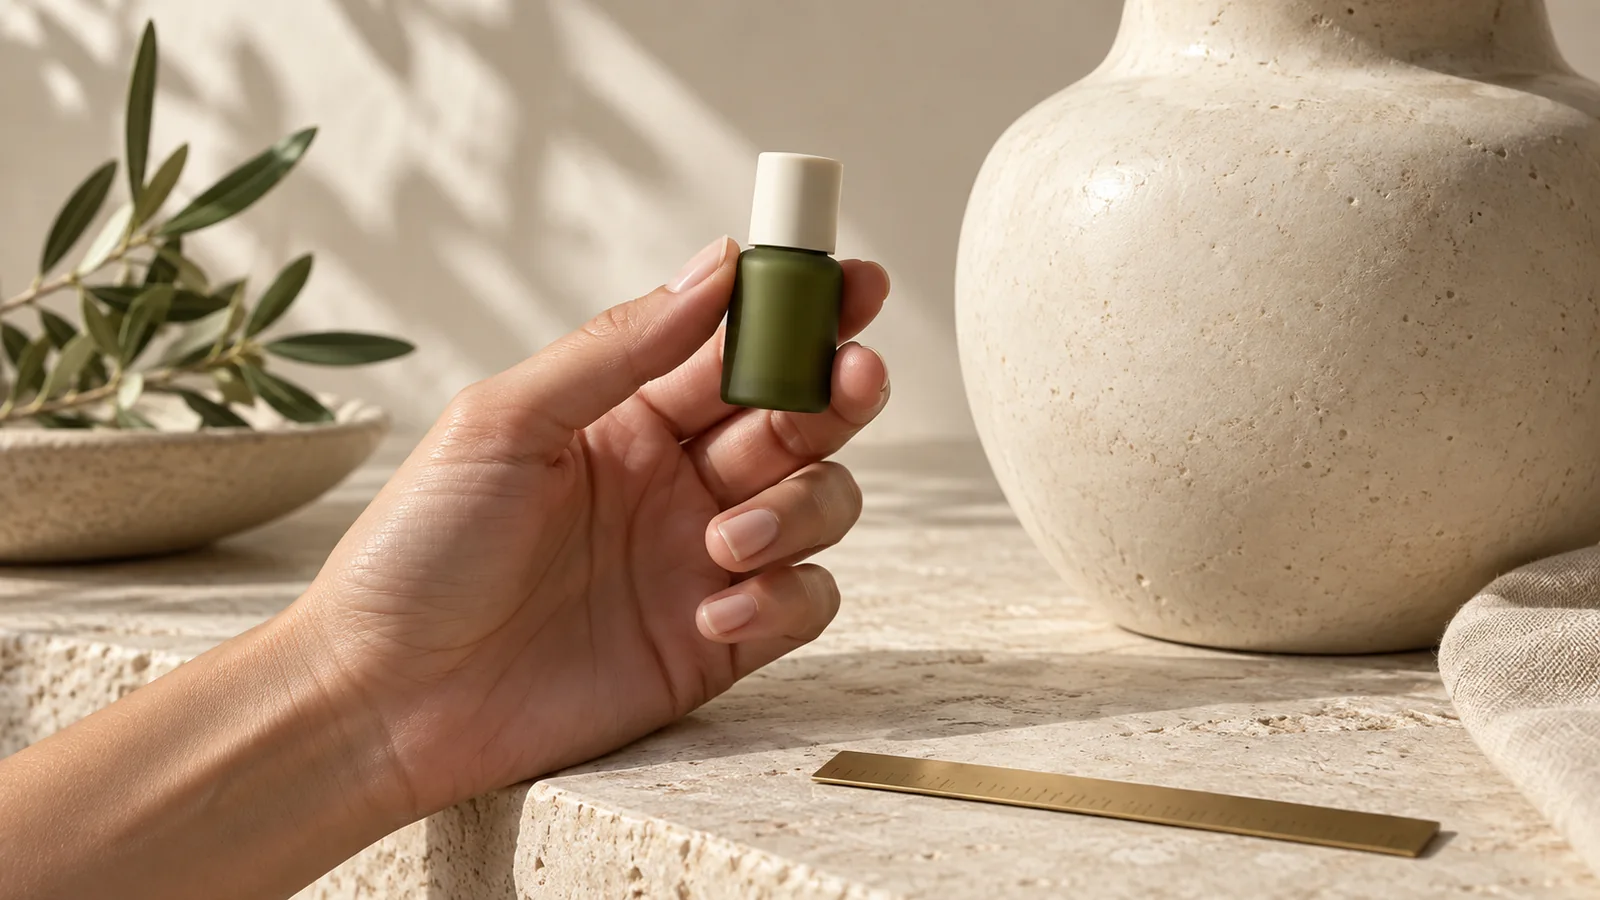
Consider a fictional cylindrical skincare bottle: body height 120 mm, diameter 40 mm and a separate 15 mm cap. These are exercise dimensions, not values measured from a photograph. Provide front and side references for a real product. Mark unknown measurements instead of treating perspective as a ruler.
Ask for separately named body, cap and label objects. Keep a plain gray material for the first review. An elaborate reflection can make a dent look intentional, while a neutral view exposes the outline.
| Check | Inspect | Repair request |
|---|---|---|
| Body proportions | Front and side orthographic views | Set the body to the supplied height and diameter |
| Cap contact | Close side view | Seat the cap on the bottle; keep it a separate object |
| Label orientation | Front, back and quarter-turn views | Put the seam behind the bottle and keep the front copy upright |
| Surface artifacts | Neutral light and close-up | Inspect overlapping faces or unintended intersections before changing materials |
A label disappearing at the back may be placement or mapping, not insufficient texture resolution. Increasing render quality will not fix its location.
Give one bounded modeling prompt
Work on a copy of the current Blender scene. This is a fictional bottle exercise, not a manufacturing model. Body: cylinder, height 120 mm, diameter 40 mm. Cap: separate object, height 15 mm. Use metric dimensions and report the actual object dimensions after any scale changes.
Keep body, cap and label separately named. Preserve the current camera and lights. First return neutral front and side views. Correct the silhouette and cap contact before adding detail.
Use the supplied label artwork without rewriting its text. Keep the front centered and upright; put the wrap seam behind the bottle. Return front, back and quarter-turn inspection views, and report any unresolved overlap or missing reference.
Save the editable scene and list the objects changed. If you have no Blender execution connection, provide a script and say explicitly that it has not been run.
This prompt assigns observable tasks. “Make it premium” does not tell the model whether the body is too wide, the cap is floating or the label is reversed. Once the geometry passes, change one material property at a time and compare under the same light.
Diagnose the failed view before another generation
If the front looks correct but the side is too wide, compare the object dimensions and camera type. Perspective and geometry can create similar symptoms. Ask for an orthographic side view first; rebuilding the mesh immediately may destroy a correct model.
If text becomes stretched near a label seam, inspect how the artwork is placed around the surface. Use a simple numbered test strip temporarily so you can see where the distortion begins. Restore the approved label after correcting placement. The test strip is a diagnostic aid, not replacement brand artwork.
If a highlight makes the bottle look dented, inspect the silhouette with a plain material. A stable outline with an unstable highlight points you toward shading or normals; an uneven outline needs a geometry review. Treat these as troubleshooting clues, not guarantees of one cause.
Accept the file, not only the render
Reopen the saved scene, hide and show the cap, and inspect the named objects. Check that the label asset remains available after moving the project folder. Save the reference views next to the editable file so another person can understand what was approved.
The Astra modeling guide covers the initial brief and blockout. This workflow focuses on correcting a scene that already exists. To compare models, start each from the same saved scene and request the same repair; do not compare one model's clean start with another's damaged file.
Export the accepted product views as images for Panelly Studio. Reference the selected view when requesting an ad, describe the setting and keep the product proportions fixed. A generated ad remains a new image to inspect; uploading a render does not lock every pixel.
FAQ
Can one photo define the back of the bottle?
No. Supply a back reference or label the unseen area as an approximation. Avoid publishing an invented back-panel claim.
Is this ready for manufacturing?
No. This example concerns visual advertising assets. Manufacturing needs independently verified dimensions, tolerances and a suitable engineering workflow.