Tutorials
Exploded-View Product Ads: Show the Parts Without Inventing Them
Plan an exploded-view product ad using verified parts. Check count, proportions and implied assembly with a three-part pen-holder example.
An exploded view is useful when separating real parts makes a product benefit easier to understand. It becomes misleading when an attractive floating arrangement invents components, changes their size or implies that a sealed product can be opened. Start with a verified parts reference, then choose the smallest separation that explains the idea.
For a simple desk accessory, showing how a sleeve meets its base can communicate construction. For an electronic device with undocumented internals, a close-up of the exterior is usually a better starting point than asking AI to imagine a circuit board.
Decide what the separated view must explain
| Reader's question | Useful visual | Reference needed |
|---|---|---|
| What is the product made of? | Separate documented material-bearing parts | Actual parts or approved assembly model |
| How does this piece attach? | One connection, with a restrained gap | Clear photo of the real connection |
| What comes in the box? | Items arranged together, not an assembly diagram | Verified package contents |
| Can the owner take it apart? | Actual supported opening sequence | Confirmed instructions, not an inferred mechanism |
The bundle guide addresses package contents. An exploded view instead describes relationships within an assembly. A screw floating beside a product can imply something about how that product is held together, even without a written claim.
Build a parts map before asking for style
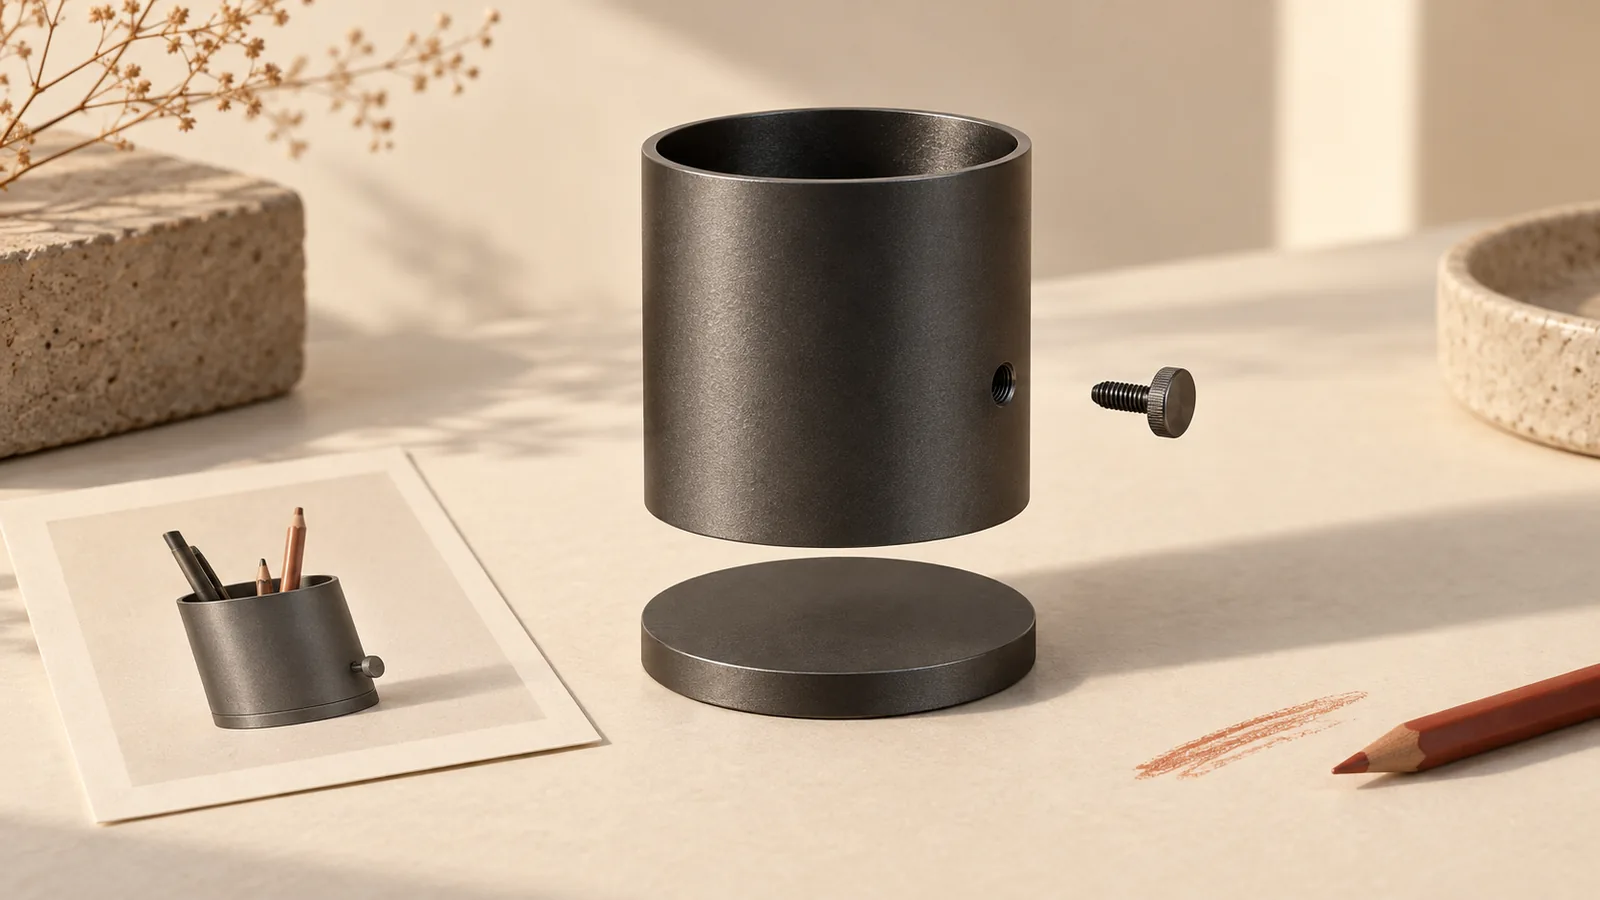
Use a hypothetical three-part pen holder: one cylindrical sleeve, one round base and one side screw. This is a teaching example, not a manufactured product. Make a tiny map before creating the image:
| Part | Quantity | Relationship to preserve |
|---|---|---|
| Sleeve | 1 | Sits around the base without changing diameter |
| Base | 1 | Aligns beneath the sleeve |
| Side screw | 1 | Corresponds to its documented opening |
A real product may have a different connection. Do not reuse this example's construction for yours. Photograph the actual pieces, or use an approved CAD view that already establishes their shapes and positions. Autodesk's exploded-view guidance operates on components of an existing model; the underlying assembly is the evidence, not the dramatic spacing.
Separate references from the advertising treatment
Use one reference for the assembled silhouette and another for the verified separated parts. Label their roles in the conversation. A glamorous competitor image can suggest light or composition, but it should not determine your product's internals.
@image1 shows our approved assembled pen holder. @image2 shows its verified sleeve, base and single side screw. Create a product advertisement that gently separates these same three parts, preserving their count, shape and relative size. Keep the base aligned under the sleeve and the screw related to its actual opening. Use a warm ivory background and soft side light. Include “Considered in every part” and “Explore the design” in the finished image. Do not invent extra fittings or imply tool-free disassembly.This is an example request for Panelly Studio, not a validated engineering render. If the available reference does not reveal a connection, ask for an exterior detail instead. The reference-role guide explains how to keep structure and style inputs separate.
Review the implied assembly, not just the composition
Count the pieces. Trace each separated part back to the assembled reference. Compare diameter, thickness, holes and direction. Then mentally close the gaps: would the parts overlap impossibly or miss their connection?
If only the screw moves to the wrong side, request that one correction while preserving the sleeve and base. If several parts are invented, return to the source rather than polishing the lighting. For a technical manual or exact assembly illustration, use the approved CAD/drawing workflow and a knowledgeable reviewer; an ad image is not manufacturing documentation.
Can an exterior photo establish the hidden parts?
No. It may support the outside shape, but it does not document an unseen internal assembly. Keep the view external until the required source is available.
Does more separation make the ad clearer?
Not necessarily. Large gaps can hide the relationship you want to explain. Start with enough space to distinguish the real parts, then inspect the image at the size the viewer will actually see.